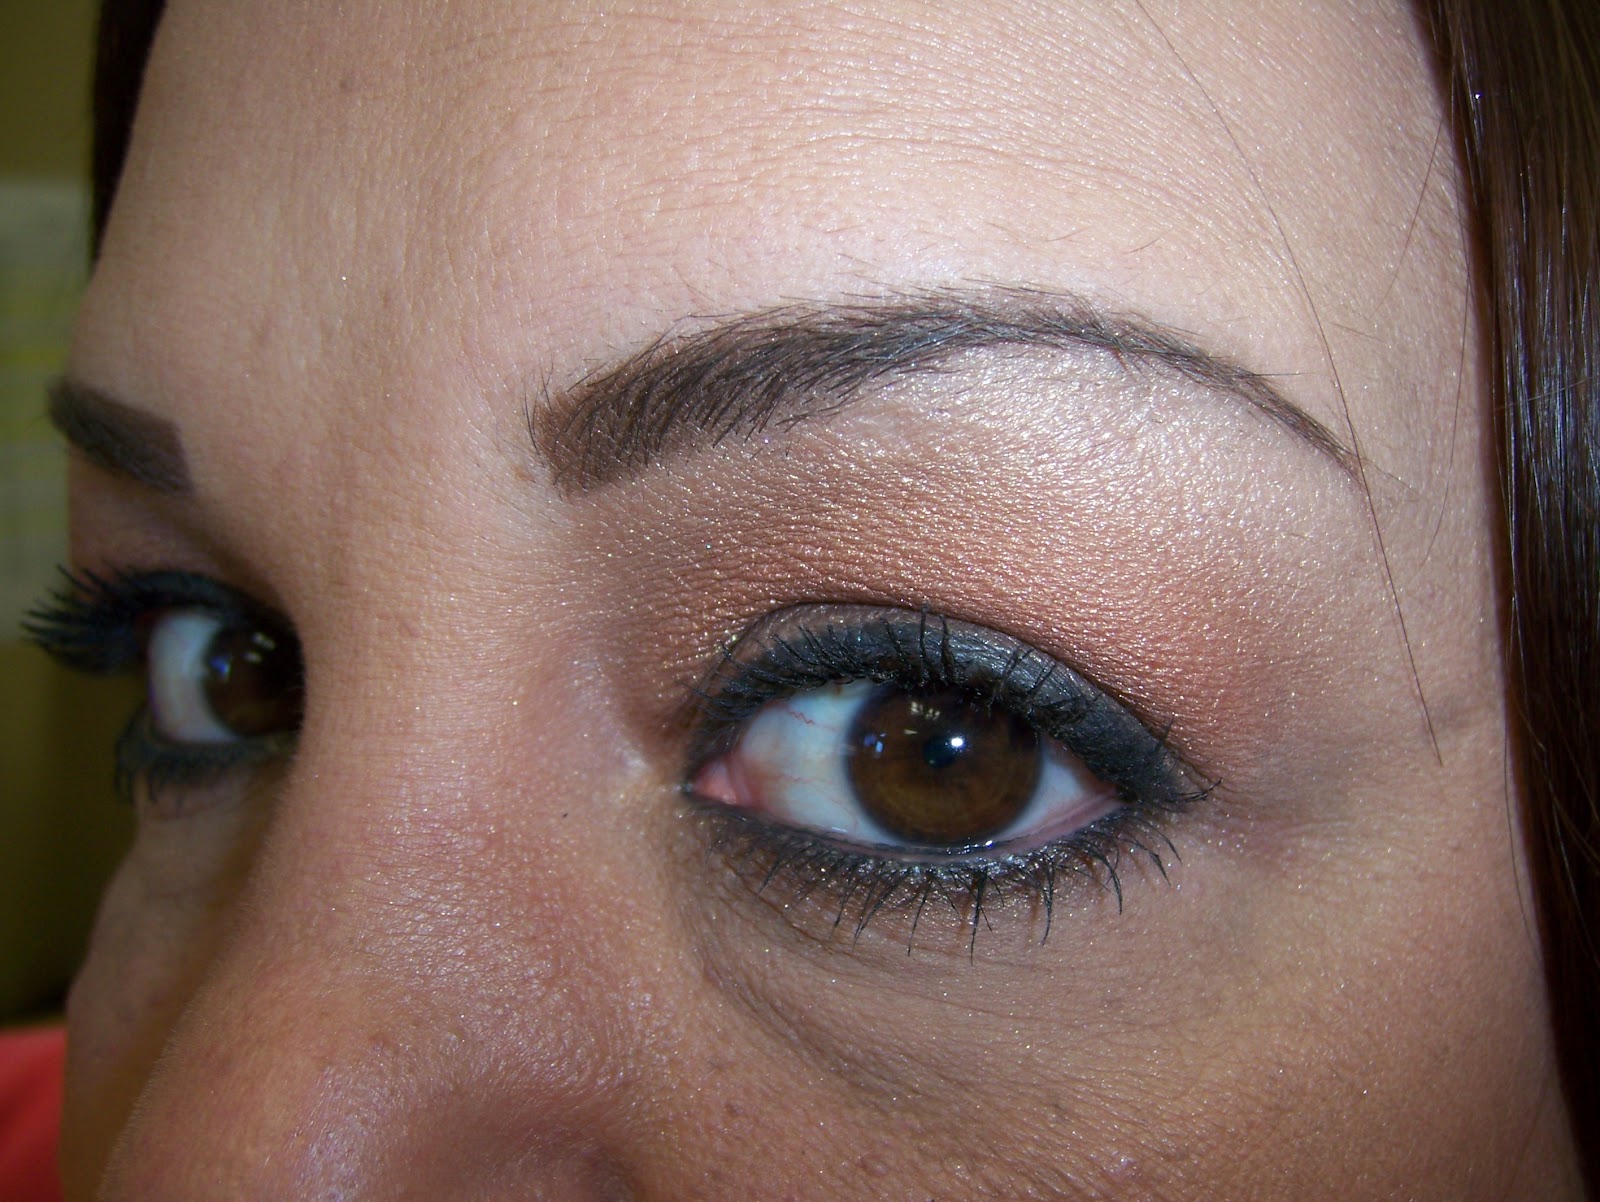
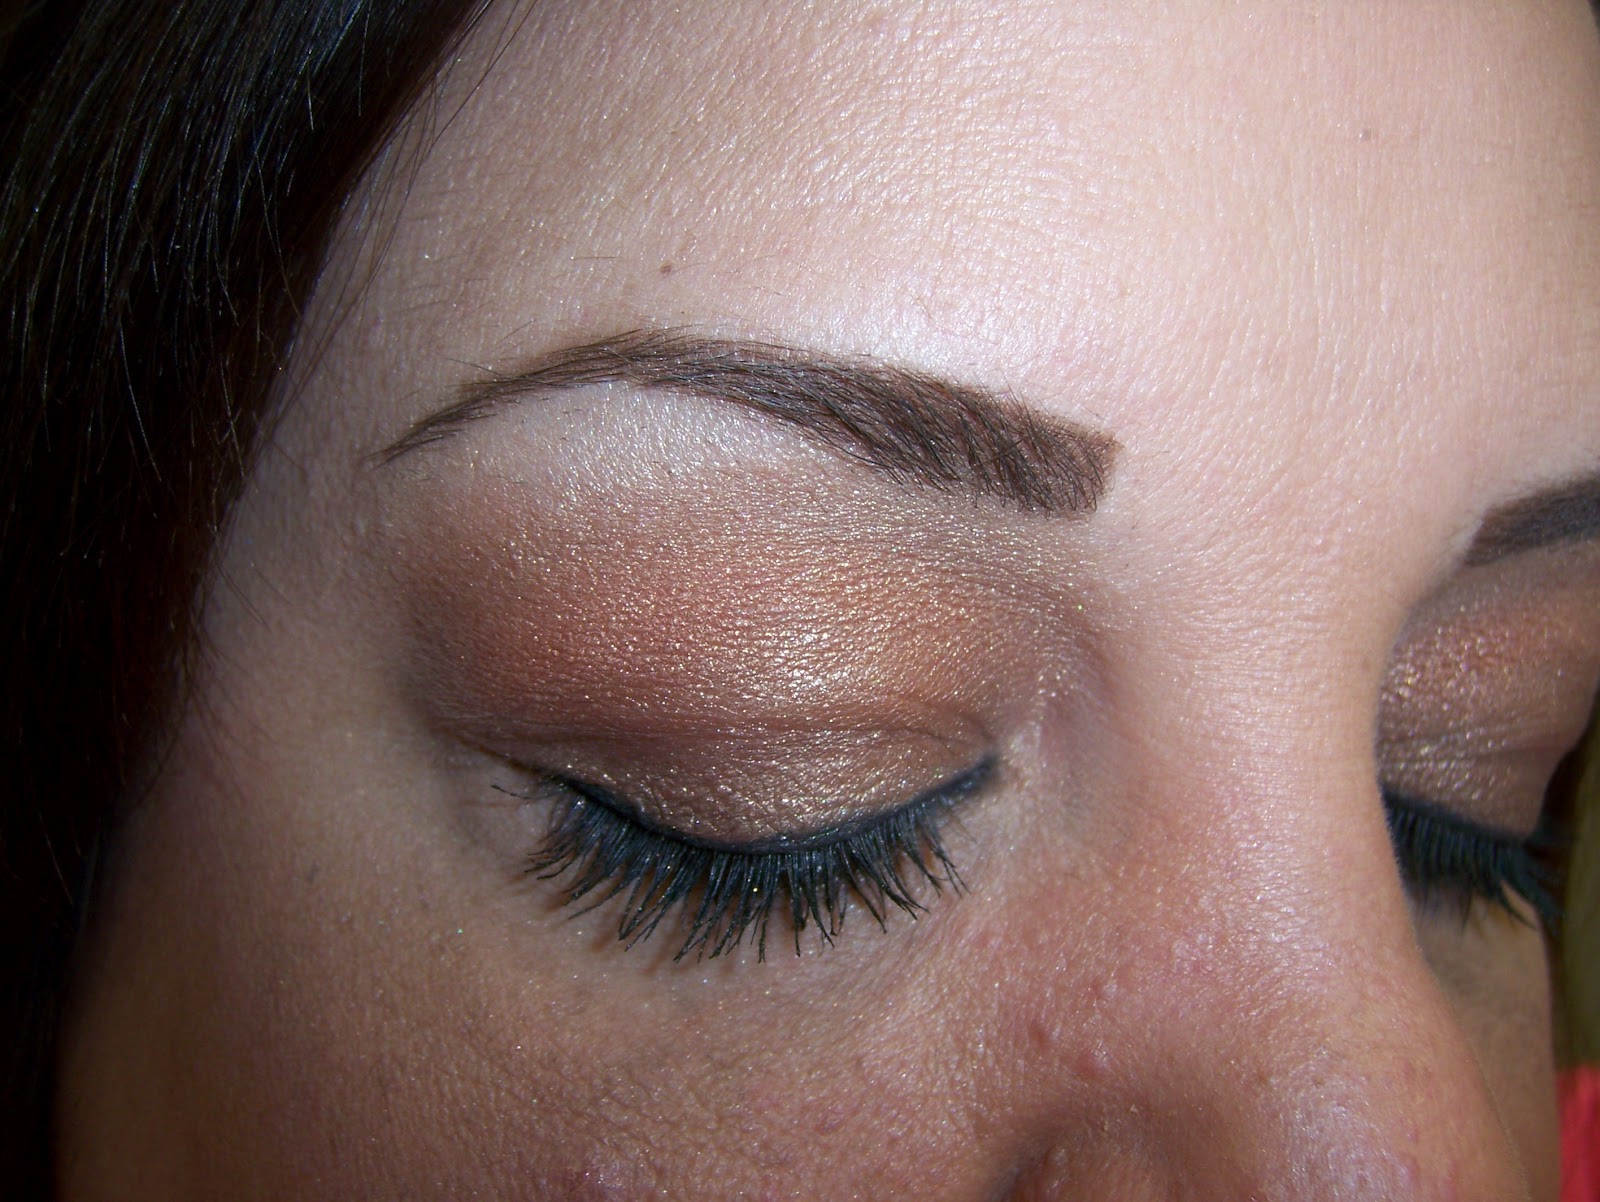
Friday, February 20, 2015

Bead & Resin Paperweight

I truly love resin casting projects.  It's so fun to see objects suspended in clear resin, completely preserved.  For this project I used:

Famowood 2 part epoxy resin
Plastic beads
Silicone Spatula/Stir Stick
Plastic Cups for mixing and measuring
Silicone Mold


Thursday, February 19, 2015

Block Printing ~ January 2015 ~ Darby Smart

This month's Darby Smart To DIY For Box was a Block Printing project.  This was my best month yet with Darby Smart.  The project was challenging, fun and pretty!  What more could a crafter ask for?  I had never tried any type of carving in my crafting, so it was really nice to try my hand at it.  The materials provided were good quality and sufficient for completing the project.  As of right now this kit is not available for purchase but there is one that comes with more inks and supplies for $47, here's the link for that:  http://www.darbysmart.com/projects/block-printing-starter-set

The link for the instructions on how to complete the kit that come in my monthly subscription box is: http://www.darbysmart.com/howto#yummy

The score for this kit:
Value - 5
Ease of Use - 4
Instructions - 4
Finished Product - 4
Overall score - 4.25


Please note:  I purchased this monthly subscription.  It is NOT provided to me to demonstrate or review.  I am not compensated by Darby Smart in any way to show this product.

Monday, December 22, 2014

Hand Crochet Scarf ~ December 2014 Darby Smart To DIY For Box

Darby Smart is a craft supply website with a twist.  You can purchase individual craft supplies or you can purchase curated kits that contain all the products needed to make a DIY craft project from beginning to end.  There is a very wide range of projects to choose from in an equally wide range of prices.  Another thing I found interesting were the "Starter Kits".  Let's say your thing is wood burning or it is something you really want to try, just purchase the starter kit for $39 and you'll receive a wood burning pen, alphabet stamps and a wood coaster set to get started on.  This is a really cool concept for crafters like me who get a little overwhelmed when trying to get started in a new craft.  I don't always want to make huge investments to try a new craft out.  This is a much more affordable way to test the waters.

They also have a monthly subscription box called t"To DIY For" in which they send you all the products needed to complete that months project but the contents are a surprise until you receive them.  The monthly cost is $19 per month.  This month's To DIY For box contained a skein of bulky yarn and a small roll of a regular acrylic yarn.  The instructions on their website, which the link to is printed on the card in your box, show you how to hand crochet a scarf.  Below is the video I made taking you through the how to with pictures of the contents, screenshots and the finished product.  I am going to continue to subscribe to the monthly subscription and bring you videos each month of the projects and as often as I can I will purchase additional boxes with projects that interest me and bring you videos of those as well.  I've also come up with a scoring/rating system for these products to better help me evaluate the overall value of the product.  I listed the Rating for this project below the video.  Thank you so much for crafting with me today!


Rating: (On a scale of 1 to 5)
Value - 2
Ease of Use - 4
Instructions - 2
Finished Product - 3
Final Score - 2.75

Instructions for this project as per Darby Smart can be found here.

Friday, December 13, 2013

"Shimmer All the Way" FOTD December 13, 2013

EYES:
The Balm Nude Tude Palette - Seductive, Silly and Stubborn
NYX Eyebrow Powder - Dark Brown
Ioni Automatic Eyeliner - Black Out
Ioni PhatLash Mascara - Carbon Black
FACE:
Wet N Wild Coverall Foundation - Light/Medium
Covergirl Professional Translucent Powder - Medium
Milani Baked Blush - Rode D'Oro
LIPS:
Jordana Easy Liner Lipliner - Plush Plum
Avon Lipstick - Rosegold


Get Ready With Me Video:


"Snowbanks at Night" Manicure/Tutorial

Products Used:
Sally Hansen Double Duty Base/Top Coat
Julep - Lacey
Sally Hansen XTreme Wear - White On
Julep - Mia
Sally Hansen Insta-Dri Top Coat
Dotting Tools


Video Tutorial:

Thursday, December 13, 2012

"Tiny Bubbles" Manicure/Tutorial

Teal has become a new modern holiday color.  I've been seeing it pop up more and more in holiday decorations, makeup and nail art.  It took me a while to figure out how to incorporate it in a manicure that it would be the feature color but still have a holiday feel to it.  I paired it with silver, because everything looks festive with silver, sparkle and shine!! LOL  I called this "tiny bubbles" because it made me think of a festive holiday cocktail.  Hope you enjoy!

I started with a base coat of Sally Hansen Miracle Cure and followed that with one coat of Celeb City also by Sally Hansen in the Xtreme Wear line.


Next I applied one coat of Stunning by Revlon for added sparkle.


With a medium sized dotting tool I applied random dots of Rise and Shine by Sinful Colors and White On by Sally Hansen to each nail.


On my thumb and ring finger I applied a smaller dot in the middle of each dot in the opposite color for a little added interest.  I finished with one coat of Sally Hansen Dries Instantly and cleaned excess polish from my cuticles.  Super easy and oh so cute!!


Monday, December 10, 2012

Holiday Gems Manicure

I got these nail stickers a couple of months ago specifically to use during the holidays.  I will have a review on them in a few days after I find out how long they wear.  Anyway!  This is the third manicure in my Holiday series.  I applied two coats of Golden by Revlon and the Sephora Nail Bling stickers in Red Chip over that followed by two coats of Sally Hansen Dries Instantly Top Coat. 

 Revlon - Golden
 Sephora Nail Bling - Red Chip
 Without Flash
 Without Flash
With Flash

Wednesday, December 5, 2012

Shimmery Winter Night Manicure/Tutorial

This is the second manicure in my Holiday 2012 series.  I wanted to create a look that would reflect a dark starry winter sky sparkling with stars and snowflakes.  I like the way this manicure turned out but after it was done I felt like the snowflakes would have looked better in white instead of silver.  Oh well, there's always next year!  Here are the steps to acheive this manicure:

I started by painting my nails with two coats of Dark Navy by ELF

I used the Snowflake and the little stars on Bundle Monster Plate BM14
 I used Celeb City by Sally Hansen for the stamping.  I placed stars on my thumb and pinky finger and snowflakes on all fingers except my pinky.

 I dabbed a bit of Stunning by Revlon onto my stamping plate and with a dotting tool I picked up bits of the chunkier glitter and placed it randomly around my nails


I cleaned up and applied my favorite top coat, Dries Instantly by Sally Hansen and Voila!!  Shimmery Winter Nights!


Holiday Glitz Manicure

It's holiday time again!!  Has everyone done their shopping yet.  I am delighted to say that I am nearly done and almost everything is wrapped.  All of the holiday decorations and cheer put me in the mood to start my series of Holiday Manicures.  I just recently purchased a new glitter polish and couldn't wait to incorporate it in this series.  It's The Family Jewels by Pure Ice.  Very affordable polish I picked up at Wal Mart.  It is a clear polish LOADED with finely milled gold glitter and diamond shaped gold holographic glitter.  Stunning!!  It would only take two coats of this to have a very opaque coverage of glitter.  One coat of it over a colored polish would create a gorgeous effect.  My only complaint would be that the polish is thick, but this is fairly normal with heavily glittered polish.  For this manicure I paired it with Rich in Heart by Sinful Colors.  I applied it heavily at the tips and more thinly going toward the cuticles.  The final look was more than I had hoped for, so pretty.  Hope you enjoy!  I apologize that the pictures are not a better quality.  I snapped them with my phone and just couldn't get them clear and non blurry.  But overall you still get a good look at how well the colors worked together.


Monday, October 29, 2012

Easy Halloween Manicure


Products Used:
Sally Hansen Miracle Cure
Sally Hansen Hard As Nail Extreme Wear: Sun Kissed
Sally Hansen Hard as Nails Xtreme Wear, Crushed
Sally Hansen Hard as Nails Xtreme Wear, Black Out
Nail Art Dotting Tools
Sally Hansen Dries Instantly Top Coat

How to do it:
One coat of Miracle Cure as base coat.  One coat of Sun Kissed with one coat of Crushed over that.  Using a medium sized dotting tool and Black Out, make polka dots on thumb and pinky. I used the same dotting tool to spell out BOO on my middle three fingers.  Follow with one coat of top coat.  I used the two oranges to acheive the shade of orange I wanted.  You could mix up your polka dots with different colors like white or green.  There are so many ways you could adapt this many to suit your personal taste and the polishes you have on hand.  Have fun!

Wednesday, September 5, 2012

FOTD Sepetember 5, 2012

 With Flash
Without Flash
 
Face:
L'Oreal True Match Foundation - Creamy Natural
Covergirl Professional Translucent Powder - Medium
Covergirl Cheekers Blush - Natrual Twinkle
Lips:
Wet N Wild Lipliner - Willow
Wet N Wild Lipstick - 552A
 
 With Flash
Without Flash
 
Eyes:
Maybelline Natural Smokes Quad
Covergirl Perfect Point Plus Eyeliner - Black Onyx
Rimmel Scandal Eyes Soft Flex Mascara - Extreme Black
 
 With Flash
Without Flash

Tuesday, September 4, 2012

FOTD September 4, 2012

With Flash
Without Flash
 
Face:
L'Oreal True Match Foundation - Creamy Natural
ELF Tone Correcting Concealer - Apricot Beige
ELF HD Powder
Covergirl Professional Translucent Powder - Medium
Wet N Wild Bronzer - Reserve Your Cabana (highlight)
Wet N Wild Bronzer - Ticket to Brazil (Contour)
LA Colors Blush - Spice
Lips:
Mary Kay Lasting Color Lip Cream - Tropical Spice

 With Flash
Without Flash
 
Eyes:
ELF Eyelid Primer
NYX Eyebrow Kit - Brunette
NYX Jumbo Eye Pencil - French Fries
Wet N Wild Idol Eyes Cream Eyeshadow - Pixie
LA Colors Sunflower Palette
LA Colors Truffles Palette
Covergirl Perfect Point Plus Eyeliner - Black Onyx
Rimmel Scandal Eyes Mascara - Extreme Black

 With Flash
Without Flash

Monday, August 20, 2012

Friday, August 17, 2012

"Fun with Stickers" Manicure/Tutorial

I have a new manicure/tutorial posted!!  It is super easy and quick to do.  Hope you enjoy!

Products Used:
Revlon Top Speed Nail Polish - Golden
Wet N Wild - Wild Shine Nail Polish in Frosted Fuschia
Sally Hansen Dries Instantly Top Coat
Avery 3/4" Round Labels